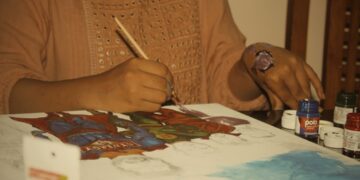

Block printing at home is one of the most direct ways a person from outside India can put their hands on a tradition that stretches back more than a thousand years, and the tools are simpler than you might expect.

What block printing actually is
Block printing is an ancient technique used to print designs or patterns on textiles using wood blocks and natural dyes. The process is exactly what the name describes. You press a carved block into pigment, then press it onto fabric. The result is a repeated motif, slightly imperfect, unmistakably handmade.
The art of block printing goes back over a thousand years, practiced by traditional artisans across India. The process has been widely practiced in Rajasthan since the 12th century, and it is most concentrated in a small village called Bagru, 30 kilometers from Jaipur, as well as in Sanganer, Barmer, and Jaipur itself. When you press a wooden block onto cotton at home, you are using the same basic method that artisans in those villages use today.
From Jaipur’s bold floral patterns to the intricate Ajrakh of Kutch, each region has developed its own story with carved wooden blocks and natural dyes. Understanding this variety helps you choose a block with meaning, not just a shape that looks decorative.
Choosing your wooden stamps
Wooden blocks are hand carved by craftsmen, mostly from teak wood. The treatment of teak requires the wood to be soaked in oil for 10 to 15 days before it can be carved into the desired design. When you buy a block, you are buying the result of that preparation.
Indian wood stamps are engraved with highly detailed motifs, often depicting attributes of nature such as animals, plants, and deities, as well as geometric patterns. For a first session at home, choose a single bold motif. A lotus, an elephant, or a simple geometric repeat all work well. Avoid stamps with very fine lines until you have a feel for how much pigment to use.

Soaking a new wooden block in mustard oil before first use seals the pores and improves ink adhesion significantly. Do this the night before your session. Wipe the block dry before you apply pigment, and your first prints will come out clean rather than muddy.
Preparing your pigments
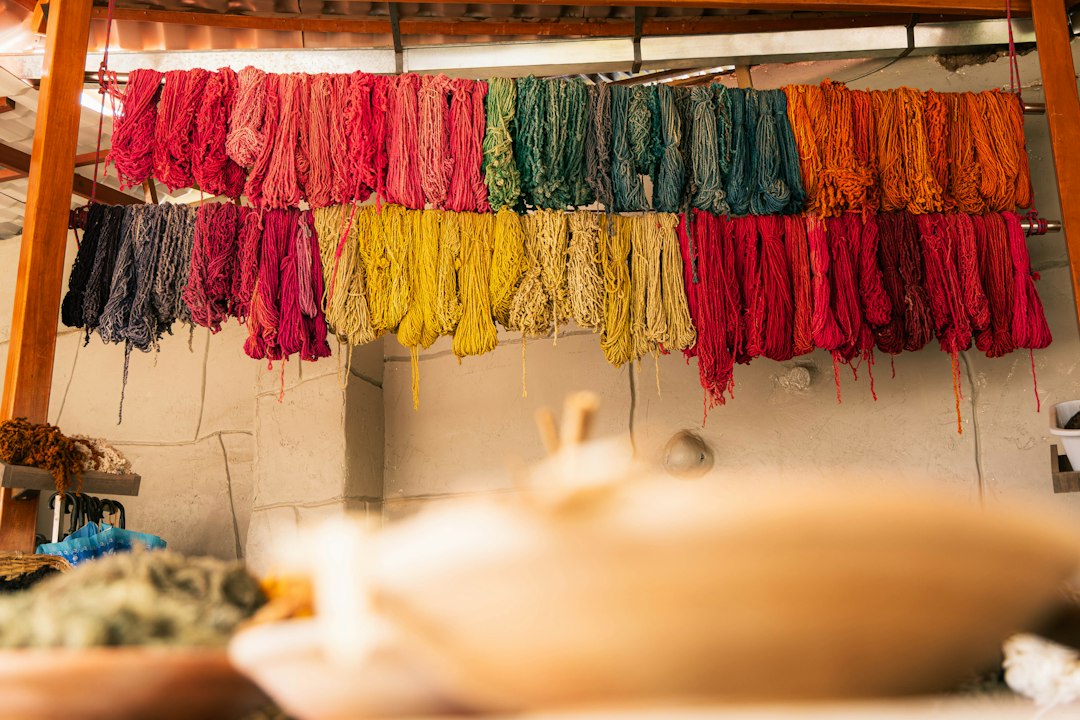
Natural pigments are what separate a genuine block printing session from basic craft stamping. Unlike synthetic dyes, which use petroleum-based chemicals, natural dyes are drawn from plants, minerals, and even metals, each bringing its own character.
Turmeric, indigo, madder root, pomegranate rind, and marigold flowers all lend their colors to fabrics without harming the environment. For a home setup, you can buy ready-mixed natural fabric pigments from craft suppliers, or you can prepare a simple paste. Pigments like ferrous sulfate and alum can be boiled in water and mixed with tamarind seed powder to make a paste that acts as black and red dyes.
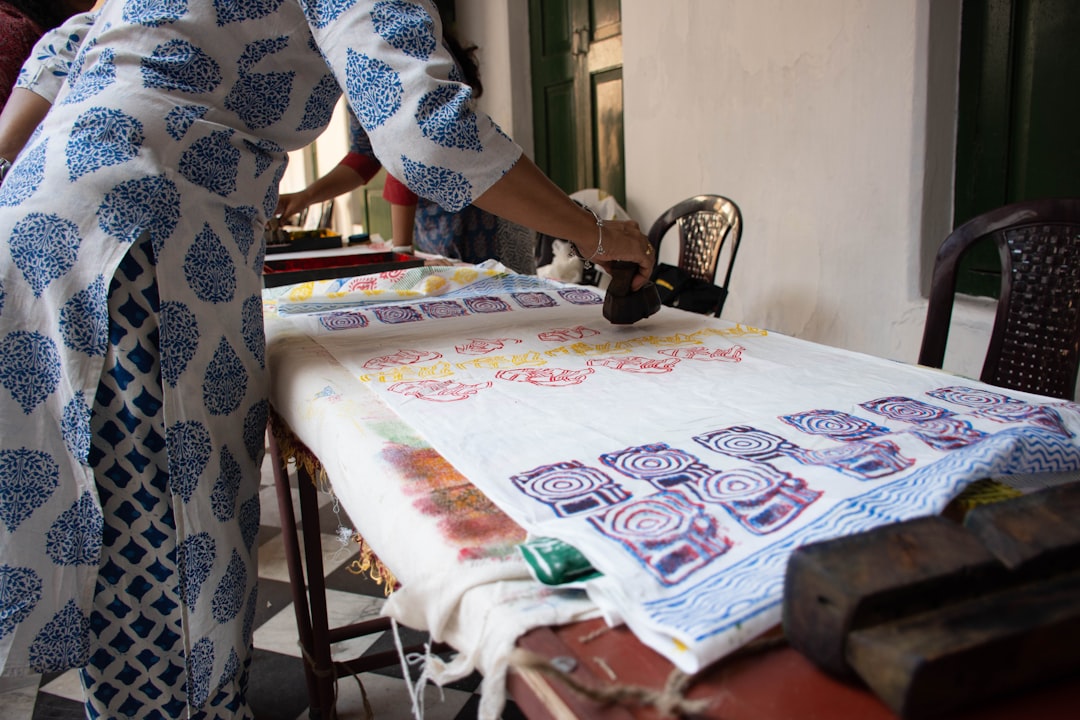
Pour your pigment into a flat tray or plate. Place a thin piece of foam or felt in the tray and saturate it. This acts as your ink pad. Press the block firmly onto the pad, lift it, and check that the surface is evenly coated before you touch fabric. Even coverage is the key to a clean print.



An artisan perspective on the craft
The wooden block is only one part of the process. The pigment must have the right consistency, not too wet and not too dry. When I teach someone to print for the first time, I always tell them to press with their whole palm, not just the fingers. You must feel the block make contact with the fabric at every point. A good block print is not about the design alone. It is about the pressure, the timing, and knowing when to reload pigment. Natural dyes also behave differently depending on humidity, the weight of the fabric, and how long the pigment has been prepared. This is why block printing cannot be fully automated. Each print carries the conditions of the moment it was made.
Craft perspective, hand block printing artisans and textile educators, Jaipur district, Rajasthan
Setting up your printing surface
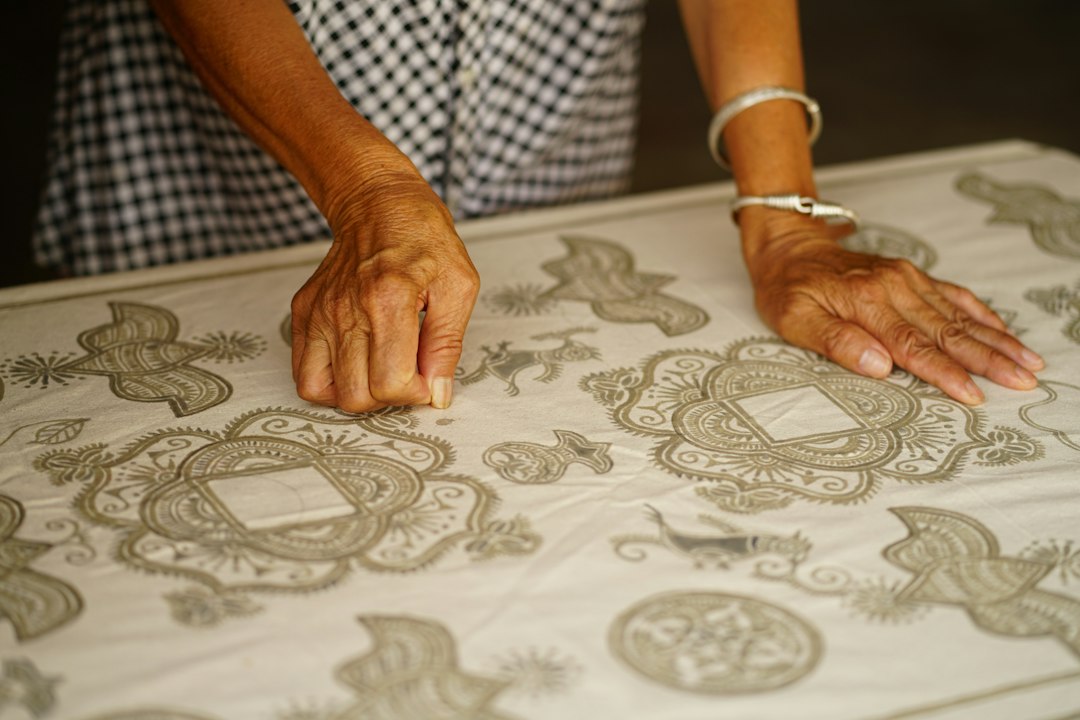
At home, your printing surface matters as much as your block. Lay a thick folded blanket on a table, then stretch a piece of pre-washed cotton over it. The padding underneath absorbs the pressure of each stamp and gives you a cleaner, more even result.
To begin the printing process, the dried fabric is pinned onto a long table to ensure that the printing is even and designs do not get smudged. Use masking tape or pins at the corners. A flat, taut surface is essential. Any wrinkle in the fabric will create a gap in the print.
You can use your wooden blocks for printing fabric, paper, walls, and more or less any surface you can think of. For a first session, plain white cotton is ideal. It takes pigment cleanly, and you can see the results immediately. Once you are confident with flat fabric, try printing on cotton napkins, tote bags, or wide sheets of handmade paper.
निष्कर्ष
Block printing at home brings a genuine piece of Indian craft tradition into your daily space. Start with 1 block, 1 color, and a flat piece of cotton. The imperfect edges and slight variations in each print are not mistakes. They are the mark of the human hand, and they are the point. Block printing rewards patience and repetition. Your 10th print will look better than your 1st, and your 50th will surprise you. Return to this craft each time you want to slow down, focus, and make something real with your hands.
Discover more about block printing
- वस्त्र मंत्रालय – भारत सरकार
- Bagru Printing: A Sustainable Practice (Taylor and Francis, Textile Journal, 2025)
- Block Printing Across India: A Journey Through Regional Traditions (Ohana Earth, 2026)
[डिलीवरेबल्स का अंत]