
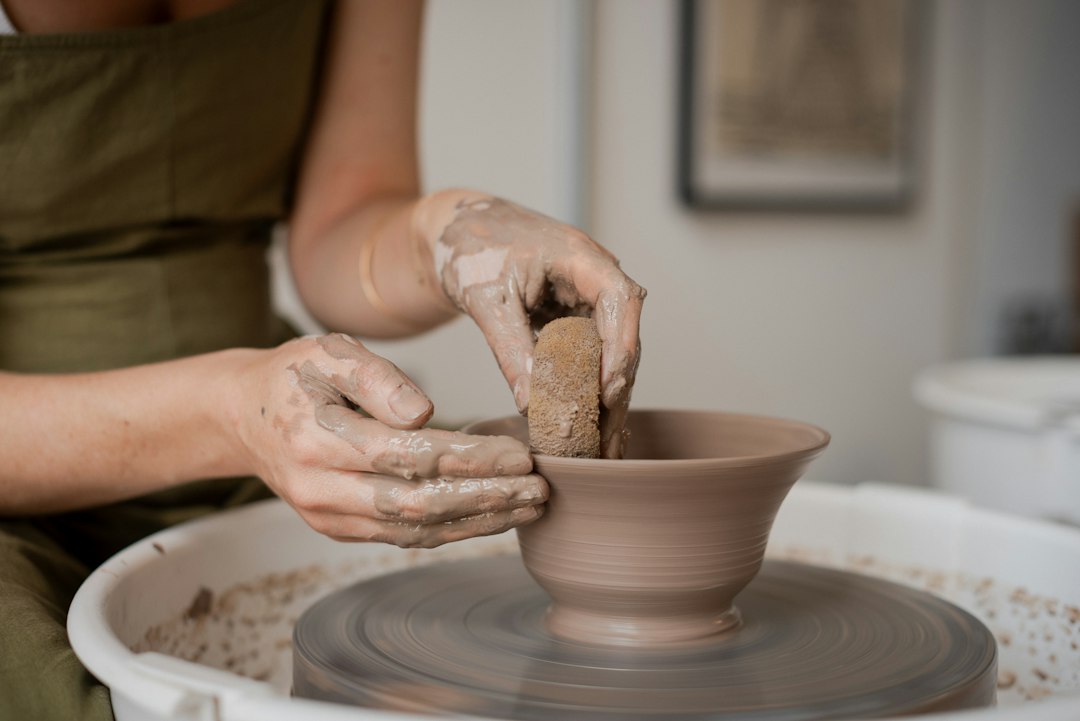
Home pottery sounds simple until you sit down with a lump of clay and realise you do not know what to buy, what to skip, or how a piece actually gets finished without a kiln in your flat. Most beginners overspend on a wheel before they have tried a single pinch pot, or they buy stoneware clay that then sits unfired on a shelf for months. This guide works backward from that problem: it starts with what you genuinely need in week one, and ends with two projects you can finish before your first cup of tea goes cold.
This list keeps to tools and materials that work inside an ordinary home, with no studio space and no kiln on day one. Each pick is chosen for low cost, easy sourcing in India, and whether it actually gets used in the first month rather than abandoned in a drawer.
Air-dry clay, not stoneware, for your first week
Stoneware clay needs a kiln reaching over a thousand degrees, which rules out most homes. Smooth air-dry clay, beginner friendly and needing no kiln, sells in a 1kg block for around ₹1,273. For a cheaper start, Jovi's European air-dry modelling clay comes in 250 gram packets priced from roughly ₹219 to ₹433 per pack depending on pack size. Either option lets you shape, dry and paint a piece entirely at your kitchen table.
A bundled starter kit with tools included
If you would rather not source clay and tools separately, bundled kits solve that in one order. One such beginner pottery set, sold with tools through Etsy India, is built as a starter kit with clay and sculpting tools together, priced at around ₹4,530. These kits usually include a wire cutter, a few shaping tools, a sponge and a basic guide, which saves a beginner from guessing which five tools actually matter.
A simple turntable for hand-building
Before investing in an electric wheel, a plain turntable lets you rotate a piece evenly while pinching or coiling it by hand. A basic toy-grade option, the Ayaan Toys Pottery Wheel, sells for around Rs.1,599 online, though it is often discounted closer to ₹1,090. It will not throw a proper bowl, but it does the one job a beginner actually needs: keeping the piece centred while your hands do the shaping.
A budget electric wheel for home practice
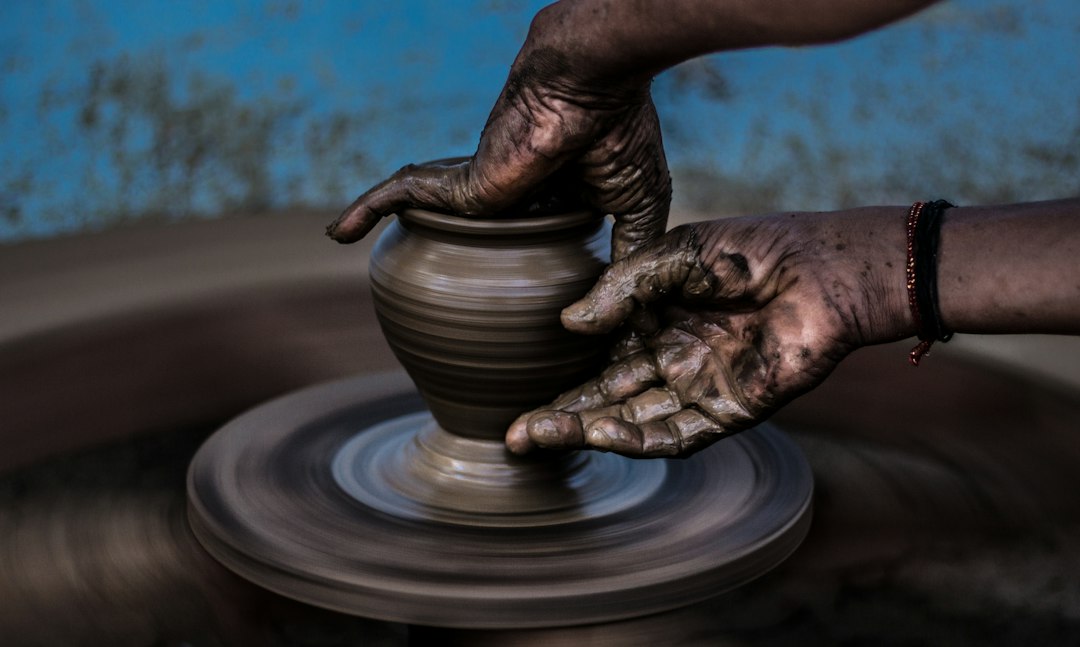
Once hand-building feels too slow, a motorised wheel speeds up centring and shaping without a studio visit. One widely sold beginner model, simply called a mini pottery wheel kit for adults, beginners and kids, is priced at roughly ₹9,343 on Amazon.in. These home wheels run on low power, sit on a tabletop, and are built for learning centring rather than for daily studio-level output.
A studio-grade wheel if you commit to the craft
Serious hobbyists eventually outgrow tabletop wheels. Locally made Indian electric wheels typically cost between ₹15,000 and ₹35,000, while imported brands such as Shimpo often cost well over ₹1,00,000 once import duties are added. Suppliers such as Bhoomi Pottery sell wheels to studios, cafes, schools and ceramic institutes across India, stocking both budget local models and premium imported ones side by side, so comparing both ranges before buying is worth the extra ten minutes.
Firing access through a local studio
Even with the right clay and wheel, most home potters have no kiln, which is the one constraint many skip over. In the metros, studios including PotteryDen, Clay & Glaze, Paint Cafe Studio and The Janbo charge roughly ₹1,200 to ₹2,500 a session, and firing is often billed separately, since glazed work needs two firings weeks apart and a kiln load runs for hours at over a thousand degrees. A kiln-fired piece can take three to six weeks before it is finished and food-safe, so plan gifts and deadlines around that, not around when you finish shaping it.

First project: a pinch pot
A pinch pot needs only your hands and a lemon-sized ball of clay. Press a thumb into the centre, leaving a base about one centimetre thick, then pinch the walls outward while rotating the piece on your turntable. Keep the rim slightly thicker than the walls so it does not crack while drying. Air-dry clay pieces usually need 24 to 48 hours to dry fully before painting, so this is a same-day start and a next-day finish.
First project: a coil pot
Roll several ropes of clay about one centimetre thick, then score and dampen the ends before stacking them in a ring on a flat base. Smooth the inside and outside with your thumb every two or three coils so the walls do not separate later. Build slowly over a few sessions rather than in one sitting, since a tall coil pot needs each layer to firm up slightly before the next goes on. It is a slower project than a pinch pot but gives you far more control over shape.
Comment choisir entre ces options
Start with air-dry clay and a turntable if you only want to find out whether you enjoy the craft; the total cost stays under ₹3,000 and nothing depends on a kiln. Add a budget electric wheel once centring by hand feels frustrating rather than fun, and only look at studio-grade wheels or Shimpo imports once you are making pieces often enough to justify the jump in price. If you want functional, food-safe ceramics rather than decorative air-dry pieces, budget separately for studio firing from the start, since that cost and the three-to-six-week wait are easy to forget when you are focused on shaping the clay. Begin your first week with a pinch pot, and move to a coil pot once you want more height and control than a single ball of clay can give you.